Because sometime you just need to tinker. If you know of any other online tools please feel free to make a comment so we can share with everyone.
Chaos Space Marine
http://www.bolterandchainsword.com/csmp.php
Space Marine
http://www.bolterandchainsword.com/smp.php
Fire Warrior
http://www.bolterandchainsword.com/fwp.php
Space Marine Terminator
http://www.bolterandchainsword.com/tsmp.php
Ork
http://www.bolterandchainsword.com/orkp.php
Eldar Guardian and Tau Firewarrior
http://www.freewebs.com/grimdarkness/painterprogram.htm
Sisters of Battle
http://www.bolterandchainsword.com/sisterpbeta.php
Space Marine Scout
http://www.bolterandchainsword.com/sctp.php
Space Marine with Wargear options
http://www.bolterandchainsword.com/smpbeta.php
Showing posts with label Tau. Show all posts
Sunday, April 14, 2013
Sunday, April 7, 2013
Review: Codex Tau Empire Bullet Format
- Same format as Chaos Space Marines and Dark Angels Space Marines
- No Demiurg - the squats or any version of them are not back
- New race mentioned "Nagi" described as mind controlling worms who are now advisors to the Ethereal caste
- That sound suspicious to anyone else?
- Second new flyer kit pending "Razorshark Strike Fighters"
- Burst cannon, quad ion turret, 2 seeker missiles, no drones
- The new "Riptide" suit is an elite choice (not a heavy) and it's a monstrous creature wearing a jet pack
Labels:
40k,
6th edition,
codex,
Demiurg,
Nagi,
new,
Razorshark Strike Fighters,
review,
Riptide,
Tau,
Tau Empire
Monday, January 21, 2013
Battle Report: 1K Tau vs Tyranids
Battle Report
Tau versus Tyranids
1000 pts
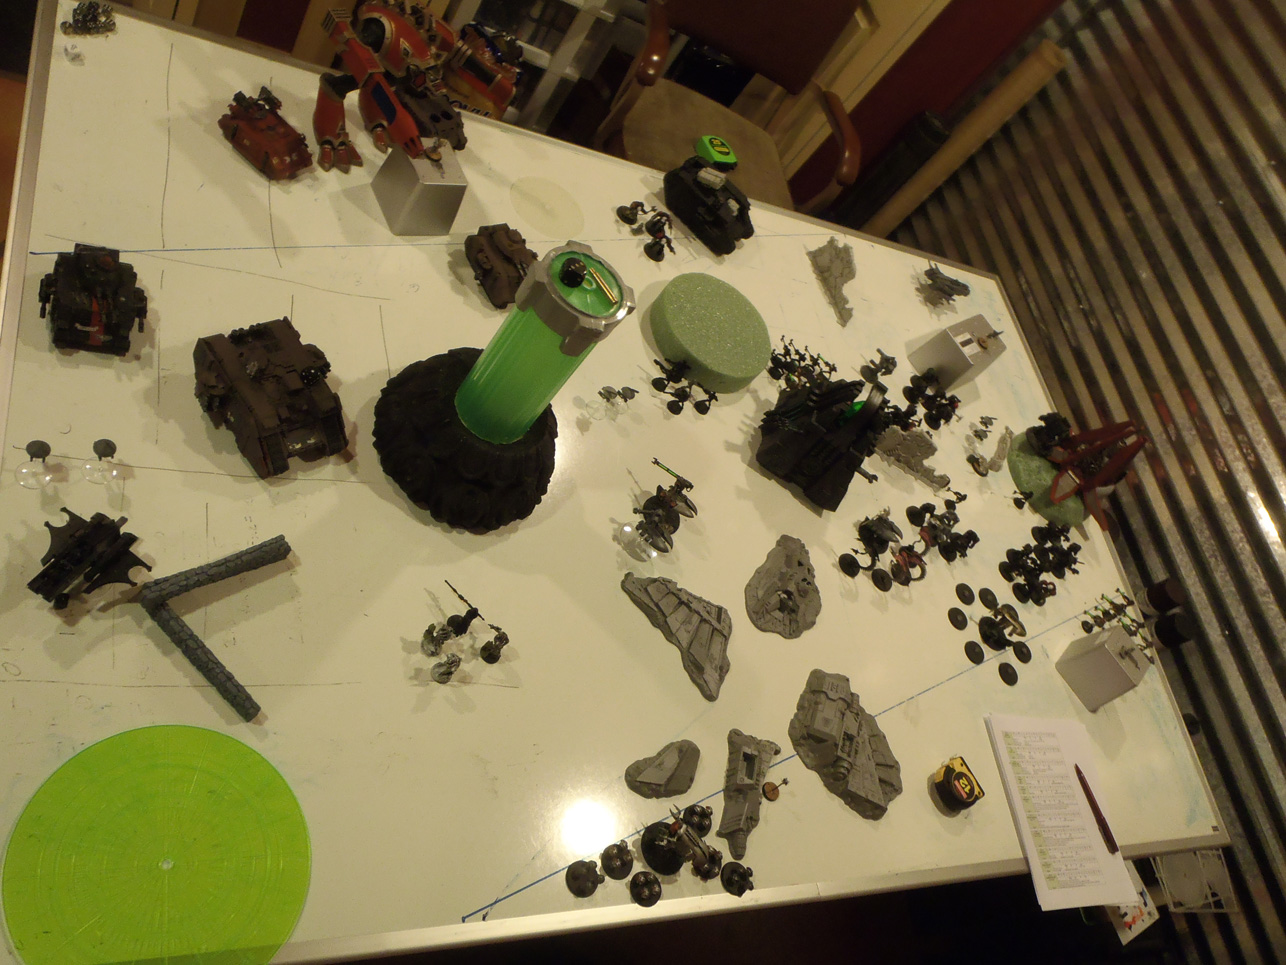
Preliminary: The scenario, table organization, and deployment
order were selected via dice rolls, giving us a basic "take
objectives" game, the table split down the middle lengthwise, and Tau
deploying and going first.
Turn 1:
With the entirety of my forces already on the table,
there wasn't much to do other than adjust as needed. The only thing within
range was a squad of termagants, so with a railgun submunition from my
Hammerhead, 5 termagants met their doom.
The Tyranids then attempt to spawn more termagants with
the Tervigon, but a roll of doubles ended that before it started. The Hive
Tyrant positioned itself and fired upon my Hammerhead, but no damage was done.
Turn 2:
I positioned the Hammerhead and fired at the Hive Tyrant
with the railgun and smart missile system (SMS), missing with both. Thankfully
my Devilfish had better luck, moving forward and killing a Zoanthrope with its
SMS.
Genestealers then arrived on a long table edge, flanking
and moving into a wooded area. The Hive Tyrant then fired at my Devilfish,
taking a hull point and stunning the crew.
Turn 3:
With the squad of genestealers threatening to take
control of the center objective, I launch a massive attack with pitiful
results: the left Piranha kills 2 genestealers, my Crisis suit Commander kills
2 genestealers, my Hammerhead only kills 1 genestealer, then my center Crisis
Suit, Krootgun, and Devilfish all miss their shots. So many twos rolled...
The remaining zoanthrope fires upon my flanking Piranha,
causing 1 hull point in damage. The Hive Tyrant then fires at and destroys the
center Crisis Suit. The genestealers move and assault my left Piranha, only to
do no damage and take 2 casualties from a flechette discharger.
Turn 4:
My commander unleashes hell with his Cyclic Ion Blaster
and kills the remainder of the genestealer unit. With the genestealers gone, I
decided to focus on taking down the Hive Tyrant. Realizing the gamble, I
disembarked my Firewarriors from the Devilfish to increase my chances of
causing enough wounds to kill it. 19 Firewarrior shots, my krootgun, the
Hammerhead railgun and SMS, and the Devilfish burst cannon and SMS only cause a
total of 3 wounds. I had 32 chances to wound, and only 3 made it. I've never
seen so many twos on my dice ever. And on a related note my right flanking
Piranha misses the remaining Zoanthrope.
The Hive Tyrant regenerated 1 wound, then commences fire
at my Firewarriors, thankfully also having a bad dice-rolling day, as only 1
Firewarrior was killed, and only 1 more Firewarrior was killed in the ensuing assault.
Another unit of genestealers flank and arrived to replace the previous unit's
place.
Turn 5:
With the Hive Tyrant tied up in assault, I focused on the
newly arrived genestealers. My Piranha missed on all counts, but my Crisis Suit
Commander killed 3, the Hammerhead killed 3, and my Krootgun killed one. My
right flanking Piranha and my Devilfish focused on the remaining Zoanthrope,
killing it. The assault between the Firewarriors and the Hive Tyrant was
resolved with predictable results: the entire unit was killed after the
sweeping advance.
After consolidation movement, the Hive Tyrant moved
straight to my Kroot, assaulting them, and sadly also annihilating the entire
squad after sweeping advance.
With a dice roll of a 1 the game ends right here,
solidifying my loss. My Tau had First Blood and Linebreaker for 2 points, but
the Tyranids had one controlled Objective for 3 points.
Lessons: Never forget Overwatch, as I forgot to do this
with my Firewarriors and the Kroot before they were assaulted by the Hive
Tyrant. That could have been a game changer. Tactically though, I have no
regrets, as I felt the odds were in my favor, but the dice rolls weren't.
Again, I've never seen so many twos rolled in my life.
Predictions if the game continued: It wouldn't have taken
much to kill the Hive Tyrant (1 wound left) and the two genestealers left from
the unit. That would have cleared 2/3 of the table. My forces could then
encircle and lay down fire upon the remaining two squads of termagants and the Tervigon.
Saturday, December 29, 2012
Battle Report: 2K Tyranids vs Tau
This is a test of a new battle report format we're tinkering with. I don't think we really stand a chance at documenting everything, so I'm trying to find a middle ground.
The Mission
The Big Guns Never Tire
The Battlefield
Hammer and Anvil
Turns Played: 4
Tyranids
Victory Points 6
Primary Objectives
1 Captured
4 Contested
Secondary Objectives
Slay the Warlord
First Blood
Linebreaker
Lessons Learned
Perhaps walking the Hive Tyrant up the middle of the table wasn't the smartest thing I could have done.
I underestimated Piranhas.
Hammerheads hurt... a lot.
Predictions for Turn 5
The Tau Hammerheads would have wiped me off one contested objective and a Piranha would have taken me off a second.
Tau
Victory Points 2
Primary Objectives
4 Contested
Secondary Objective
Slay the Warlord
Linebreaker
Lessons Learned
Never forget all of your weapons in your arsenal. I completely forgot each of my three Hammerheads had Smart Missile Systems and never used them. Doh!
Piranhas make great field sweepers against spore mines.
Big Tyranids have plenty of wounds to make them last a long time.
Predictions for Turn 5
Possibly clear The Swarmlord and a Trygon Prime off of my end of the table.
Move into center field with Devilfish and Firewarriors to take center objective.
Piranha and gun drones on the back table side overwhelmed.
Tuesday, November 6, 2012
4k pts of Apocalypse Space Marines vs Necrons & Tau
Why use a dry erase board for a 40k? Because being able to draw things like deployment zone on the table are awesome. Don't have any objective markers? Draw them on the table! Don't have any trees? Draw a tree line!
Imperium Deploy
Necrons Depoy
Turn 1
Turn 2
Turn 3
Labels:
40k,
6th edition,
apocalypse,
Necrons,
space marines,
Tau,
titan
Saturday, June 2, 2012
WAAAAGH! Attilus - Apocalypse Battle Report
+++++CONTACT LOST WITH
RESEARCH STATION ATTILUS VII+++++
PRIORITY EXTREMIS
DATE 2360999.M41
TRANSMITTER PRISTINE TOWER, ASTROPATH KIURA
RECEIVER HOLY TERRA, LORD HIGH INQUISITOR, FIARION
AUTHOR INQUISITOR LUMINAS VARUS
Fourty-eight hours, Terra Standard Time, the Imperial Guard Garrison at Inquisitorial Research
Station Attilus VII in Segmentum Ultima failed to make the required daily
report to Inquisitor Luminas Varus of the Pristine Tower.
An urgent warp missive was transmitted to reach the nearest loyalist forces for immediate support. The Emperor’s Tears are in peril.
A Space Marine detachment of the Augurs Legion in transit
to Damocles Gulf has responded and are within two days warp travel.
+++++END TRANSMISSON+++++
Subscribe to:
Posts (Atom)